Hey everyone, Adam here. We hope that you’ve started on and are enjoying our sister-series An Engineer’s Guide to the Big Picture. While those articles focus on overall energy theories and the “Why?” behind going solar, this series will be dedicated to the real, practical world of solar installations. You may be asking “Why is a solar contracting company writing a Do It Yourself guide? Don’t they want me to hire Whaling City Solar to do my installation?” Well….yes…we do, but only if you value the benefits of having us the professionals take the reins. So to that end we’re going to pull back the curtain to show you the major operation steps we do week in and week out for our customers, and let you draw your own conclusions on whether you could tackle your own solar project yourself. Enjoy!
Step 2: Size the system and qualify your finances
Out of pocket Cost: $0 (but a few hours of dedicated research time to learn the terminology)
Welcome to Step 2! You should be here now that you’ve determined that you’ve great house for solar. Specifically, you also know how to calculate how many kWh’s per kW of capacity your roof will generate. Meaning you can confidently say a sentence like “My roof will generate 1150kWh per 1.0kW of power.” Great! Now what? It’s to pick to your equipment and ask the questions that we hear more than any other….does it make financial sense and can I afford it?
Today we’ll learn where to source equipment yourself, what other items you’ll need to budget for and two options to pay for the project – out of pocket or self-financed. Before you start shopping you’ll need to have on paper what capacity system you’re aiming to build. The good news is if you’ve been reading along with our writing this year, you have all the tools in your toolbox to get a good guess. You already know how to calculate your home’s electricity consumption levels over the last 12 months – that’s your target for kWh’s generated per year for 100% offset.
Basic Principles
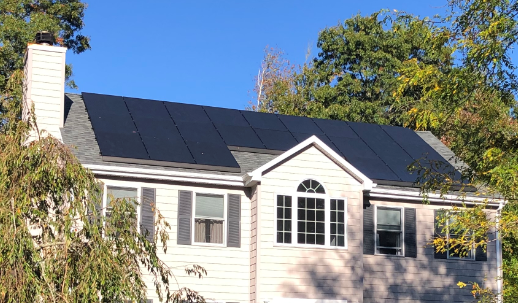
Let’s build our example home with a $150 average electric bill over 12 months – and a sunny roof receiving 1300kWh/kW. The Eversource electricity bill says that we consumed 8200kWh last year – being charged a total of $1800. To offset that load we use our prior collected information, and simply divide 8200/1300 = 6.3kW of solar panel capacity. That’s how big a solar system we need – let’s go shopping!
Where to buy equipment

Let’s start off by saying procuring solar equipment online is going to be overwhelming if you’re expecting clear and concise information about your options. I would recommend you start by looking at a high level guide to start, and then take your time. For those ready to jump in (and to advance our article along) here’s a source selling kits at about as good a price you’ll find direct to consumers.
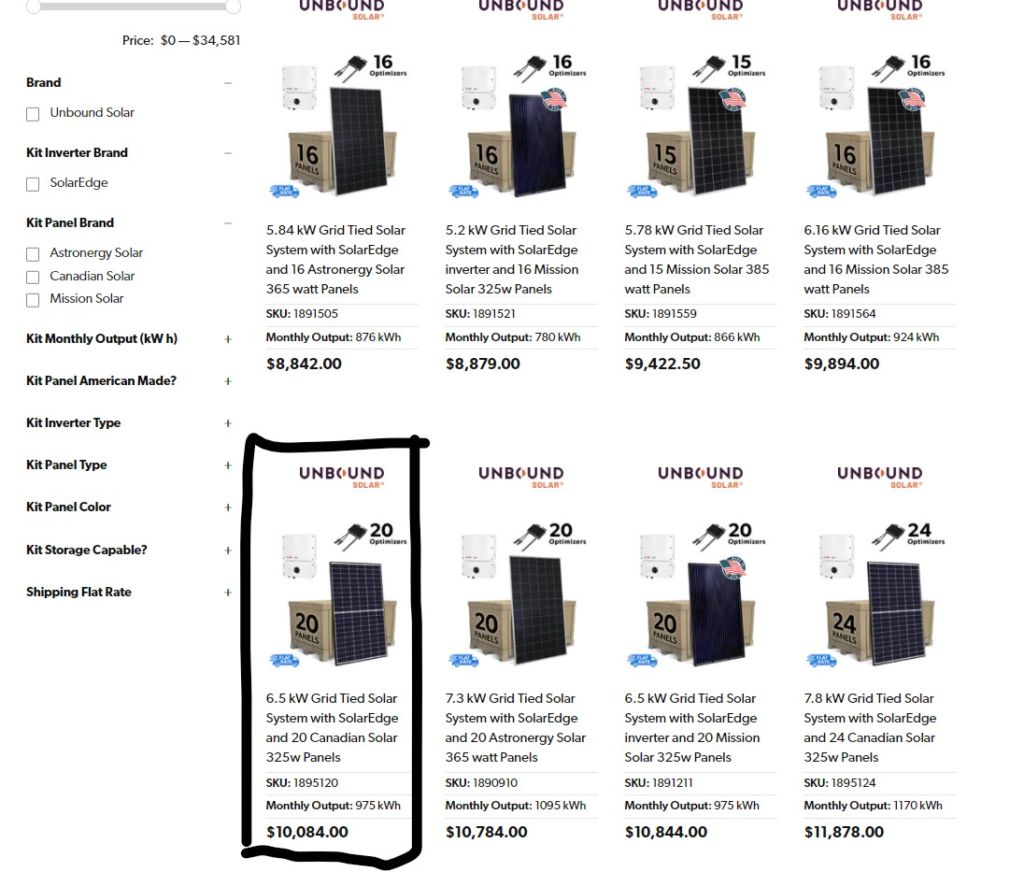
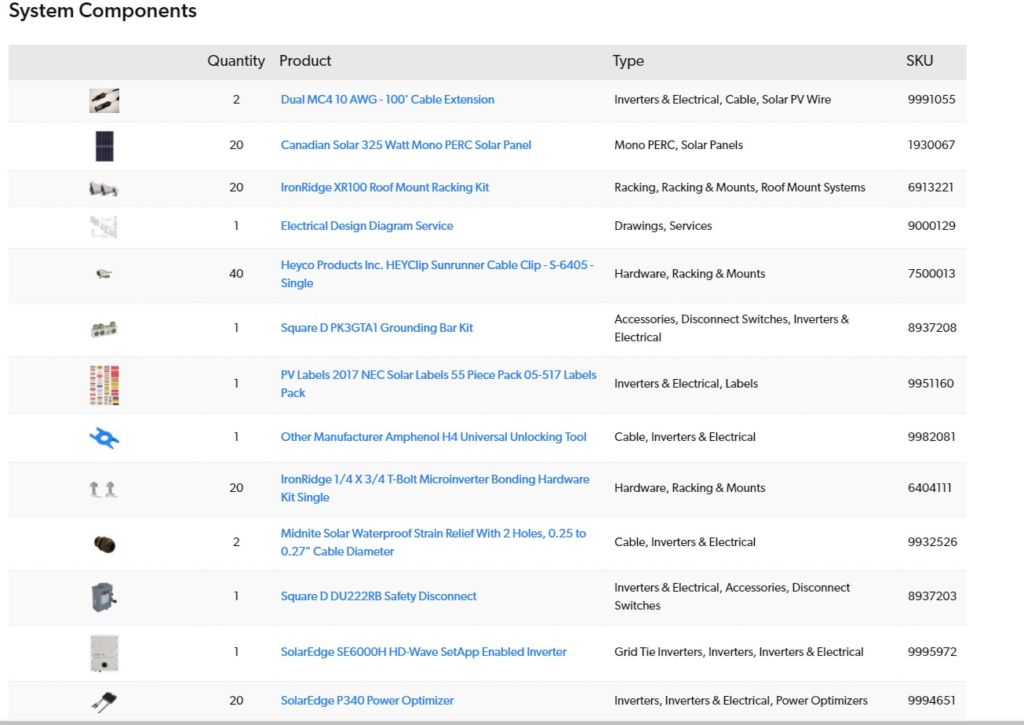
Since we know our target size of 6.3kW – we’ve selected a system a little oversized, giving us room to grow in our electrical usage. This kit will contain almost all of the raw hardware that’s needed to install the solar safely and to code. Remember though, we’re just qualifying our purchase right now by looking up pricing and calculating payback. I’d suggest taking your time and familiarize yourself with each part individually, understanding where it fits into the system overall – before pulling the trigger on a specific kit.
Pricing the other components
We wish it were as easy as ‘buy the components’ and away you go, but there are costs beyond hardware you’ll need to account for. Since this is a proper construction project, you’ll need at least 3 permits. Let’s look at them in greater detail:
Utility Permit
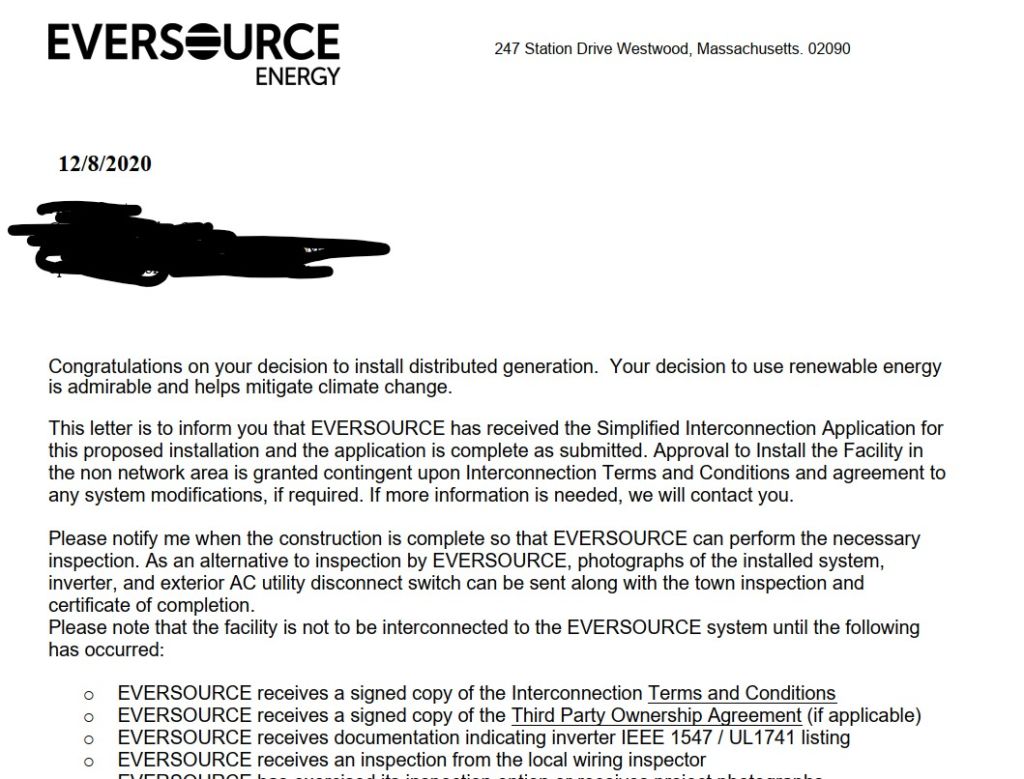
Since we’ll be plugging the system into Eversource’s amazing grid, and expecting them to buy back the excess power, it’s fair that they get some say on what you’ll be installing. Therefore in order to install a grid tied solar system you’ll need what’s called a Interconnection Service Agreement (ISA). This is a contract that puts in writing 1) They will buy back power at whichever price they are currently charging and 2) You will not be expanding your system and overtaxing their lines without formally requesting first. While there is no upfront cost for the ISA itself – it does require some engineering documents for approval which will cost you a one time fee to have made.
State Incentive Permit
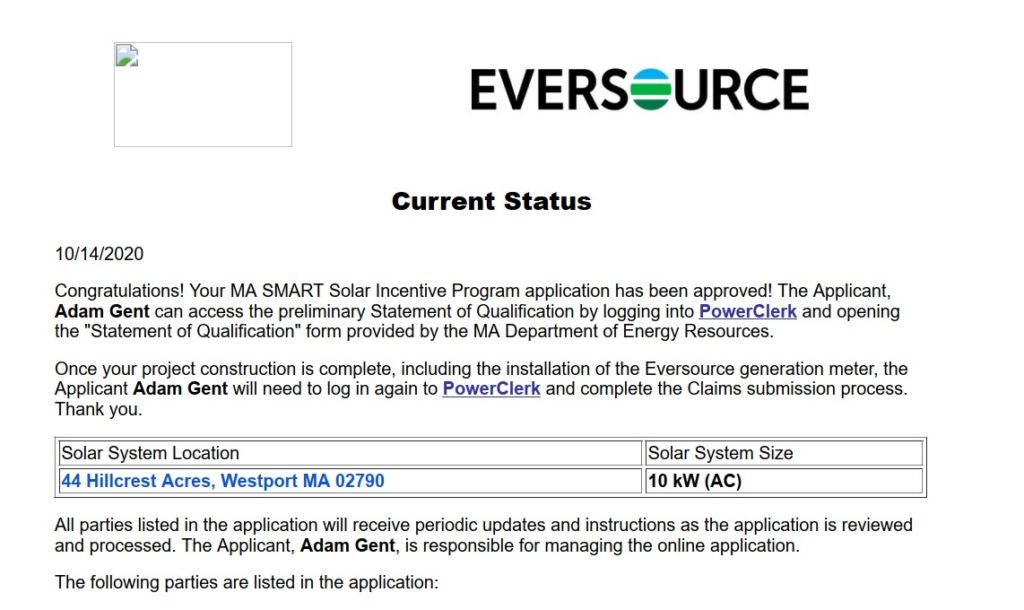
Here in Massachusetts we have one of the best solar incentive programs in the country – the SMART program. This is indeed a extra amount of paperwork and waiting periods, but the payoff is worth it to the tune $5000+ of rebates over the next ten years. You’ll need to formally apply to the program over two stages with various details from your proposed system and pay an application fee of $370.
A note on ISA and SMART permitting
Be warned that the processing bodies for both the ISA and SMART program are notoriously detail orientated and expect that all applicants are aware of and comply with their associated regulations. These regulations – SMART and Eversource – are not a trivial amount of information to master. Of all the steps in the total solar process permitting errors are most responsible for delays, many times exceeding 6 months for DIYers.
Town/City Building Permit
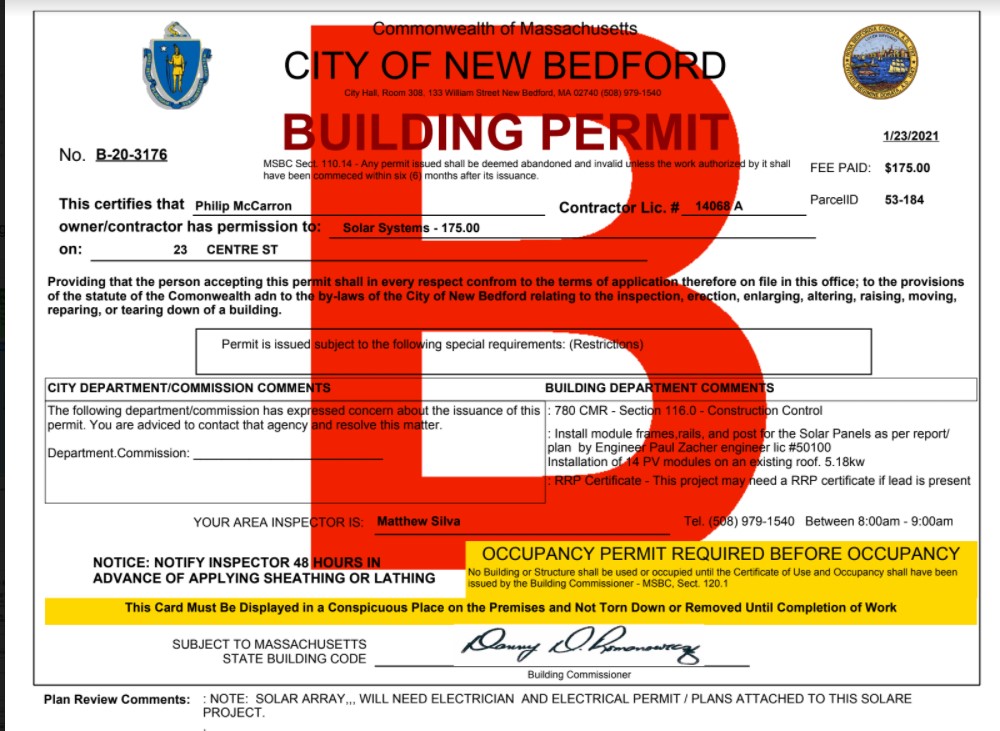
The last permit you’ll need is a building permit from town hall. Since this is an electrical project, they will need an valid electricians license number attached to the application – you’re legally required to have that sorted out before hand. The town also requires a CAD plan set showing the details of your project and a structural letter stating the building can support the extra weight of the solar project stamped by a Professional Engineer. The permit plan set can be outsourced from a number of websites.
Electrician License and Labor
If you don’t have a license yourself, you’re going to need to get an electrician involved. If you’re hard set on doing it all yourself, you can negotiate a lower rate with an electrician to inspect your work after you’re done – but they’ll need to present when the electrical inspector comes to sign off on the project. Sorry, no work arounds here. Without a signed off inspection, you won’t be able to get an ISA or SMART money. If you find an electrician who’ll let you tag along and help as brute force labor. Since the two of you working together will take at least two days to get the installation done – I’m going to say $4,300 is a decent guess at a fair rate on their labor.
| Component | Flat Price |
|---|---|
| Raw Equipment | $10,886 |
| CAD Engineering Plans & Structural | $750 |
| SMART Application | $370 |
| Building + Electrical Permit | $250 |
| Licensed Electrician Labor + Inspection | $4,300 |
| Total | $16,556 |
Conclusion
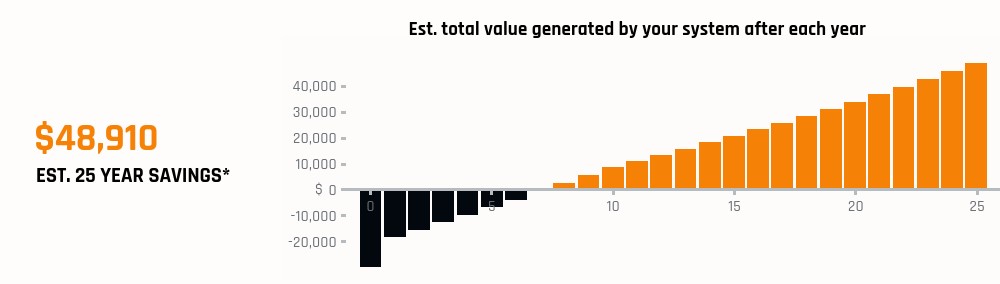
So now, we have a number – $16,556 for a 6.5kW system – that’s only $2.54/W which is stellar. But it’s still $16,556 – how long till you get that money back? What comes next is a walkthrough of how we determine the amount of money the solar system will save us. From tax credits through state incentives, and of course by offsetting our electricity bills.
Be on the lookout for Masterclass: 8 Steps to a DIY Solar Installation – Step 3!
Finding our content interesting? We’re realizing there are more of you out there than we thought! So because someone asked, here’s a subscription form where you can get an update every time we post a new in-depth article like the one you just read.