Hey everyone, Adam here. We hope that you’ve started on and are enjoying our sister-series An Engineers Guide to the Big Picture. While those articles focus on the overall energy theories and the “Why?” behind going solar, this series will be dedicated to the real, practical world of solar installations. You may be asking “Why is a solar contracting company writing a Do It Yourself guide? Don’t they want me to hire Whaling City Solar to do my installation?” Well….yes…we do, but only if you value the benefits of having us the professionals take the reigns. So to that end we’re going to pull back the curtain and show you the major operation steps we do week in and week out for our customers, and let you draw your own conclusions whether you could tackle your own solar project yourself. Enjoy!
Step 4: Engineering and Permitting
Cost: $1500-$2500 out of pocket
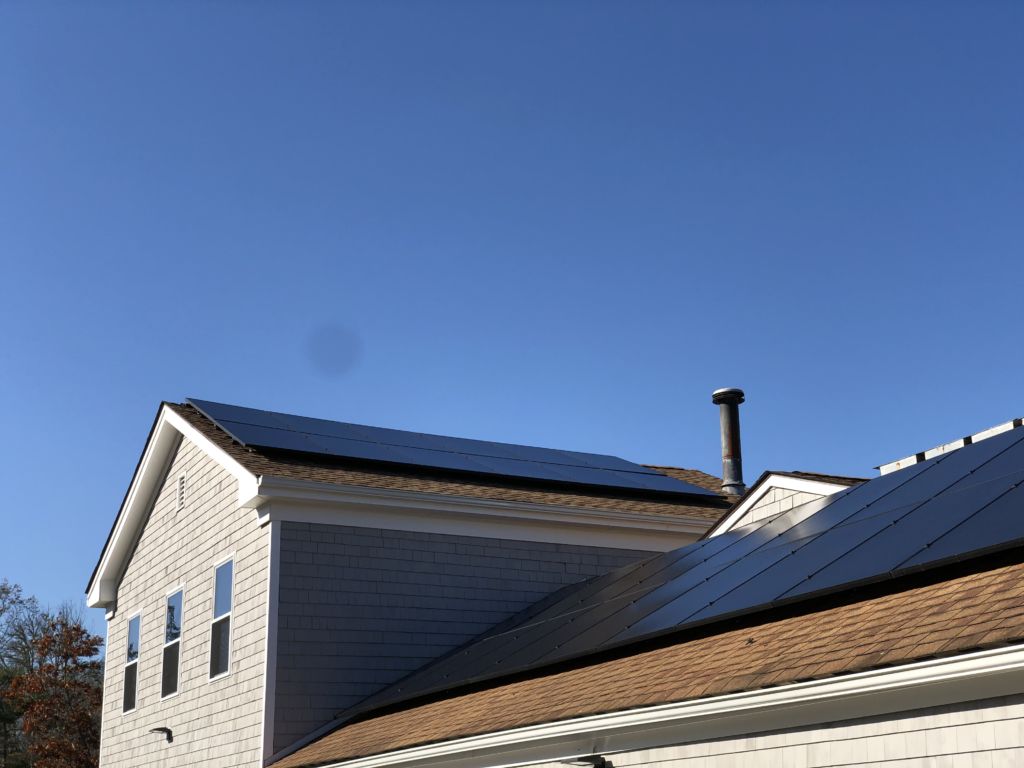
Welcome back to our DIY solar guide. Please give Step 1 – Sunlight Qualification, Step 2 – System Sizing or Step 3 – Financials a read if you haven’t yet! If you’ve been working along with us, so far you’ve determined you’ve got a great roof for solar, how many solar panels you need to offset your electric bill, and are confident that the savings will cover the costs up to 5 times over.
What’s next? Now, you want to build this project, but you need some permissions first. Since you’ll be connecting the solar panels and inverter to the publicly owned utility power grid, they have the responsibility to evaluate and approve all of the system details before you do any construction.
This approval process is called Utility Interconnection and the first document you’ll need is called an Interconnection Service Agreement (ISA). Your town or city will also require a building, and electrical permit to be filed. Second, you’ll need to pay the relevant town hall fees associated with the project. And third, You’ll be applying to the MA SMART incentive program.
Before we dive into each, there’s another step that will make all three permits a heck of a lot easier: standardized solar engineering CAD prints.
Engineering Prints – Overview
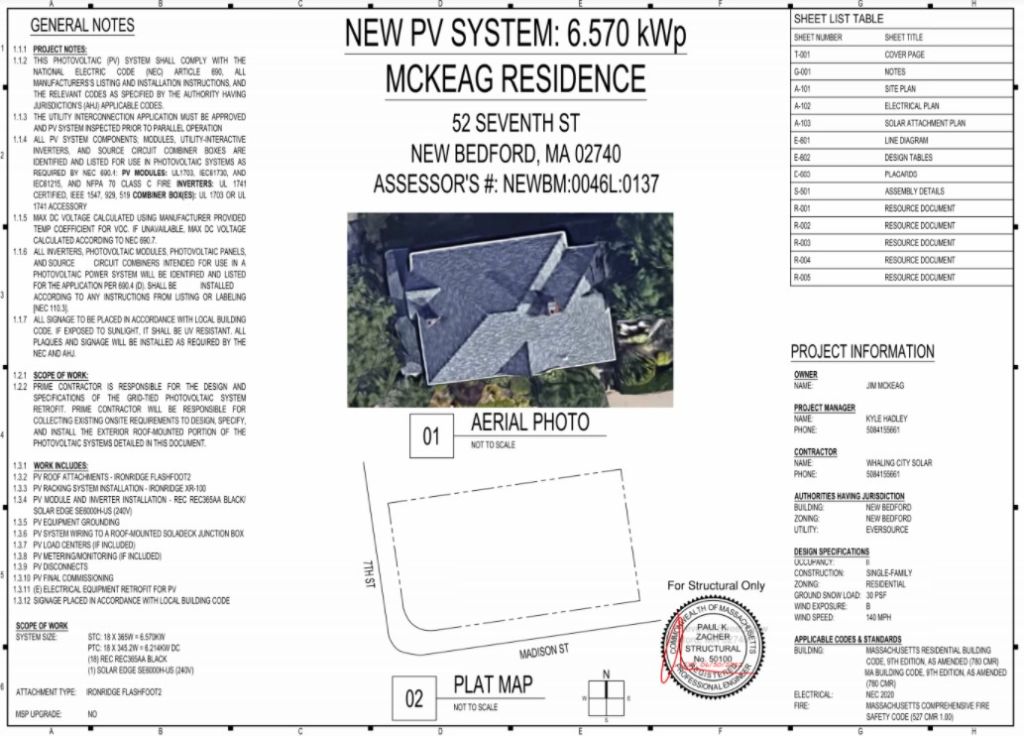
Engineering prints fill 3 critical roles in the project process:
- Provide structural calculations and approvals for the town building department.
- Provide electrical calculations and approvals for the town electrical inspector.
- Provide layout and installation instructions for the electrician who’s doing the work on the roof.
Let’s see what we need in order to get a set of these prints in your hands.
Engineering – Structural Details
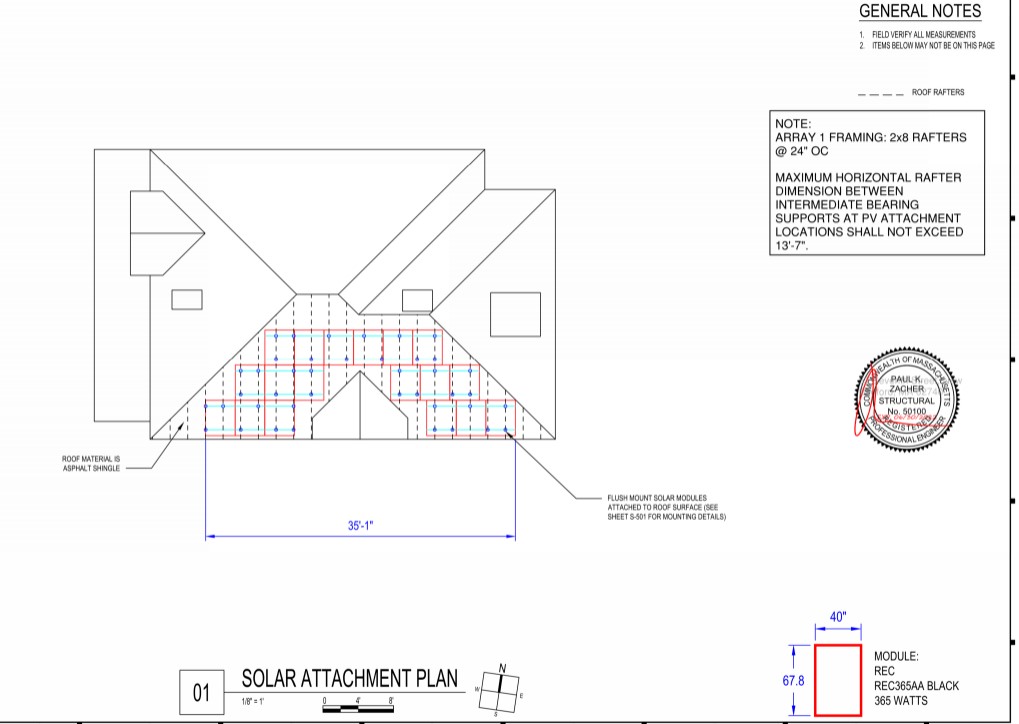
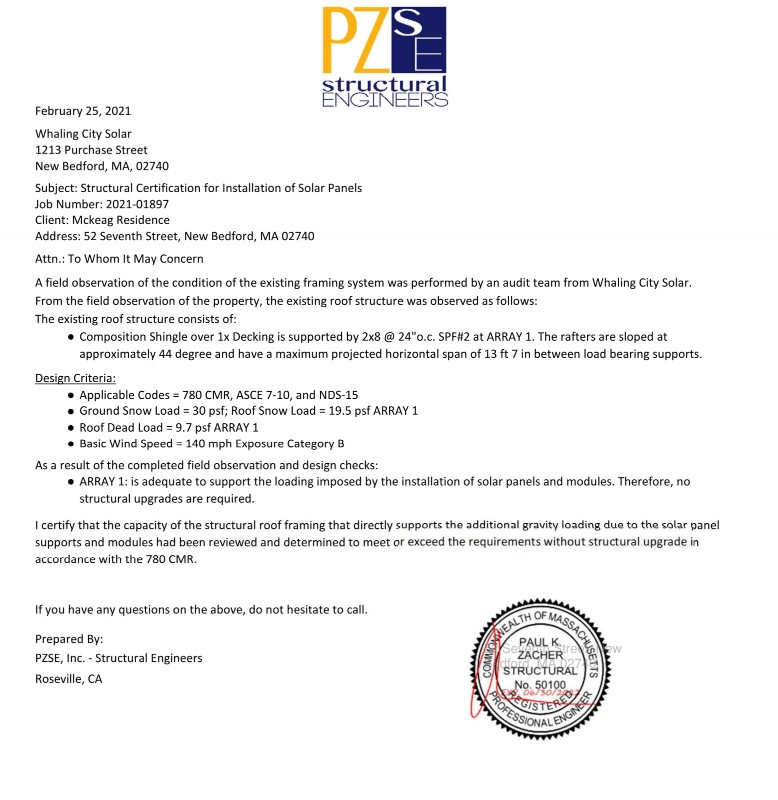
Solar panels are held above the roof on aluminum rails, known as racking. Because of this offset spacing they are subject to an uplift force from wind running under the panels, especially in high wind events. In addition to wind loads, we here in the Northeast need to account for snow loads. The weight of the solar panels, plus the racking, plus the snow that can accumulate on top in high snow events can’t exceed the strength of the rafters or the respective attachment points. How much is too much? Thankfully enough people have these same questions that there’s an army of trained engineers available for hire who will do the math so you don’t have to.
Here’s a few we’ve worked with successfully and would recommend to any homeowner:
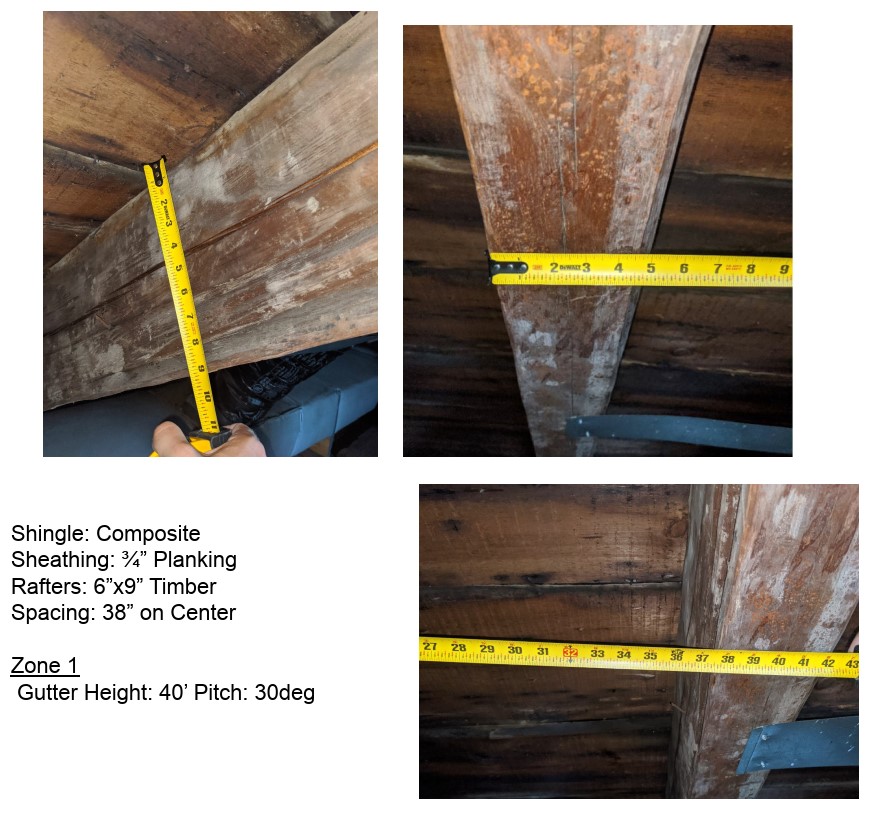
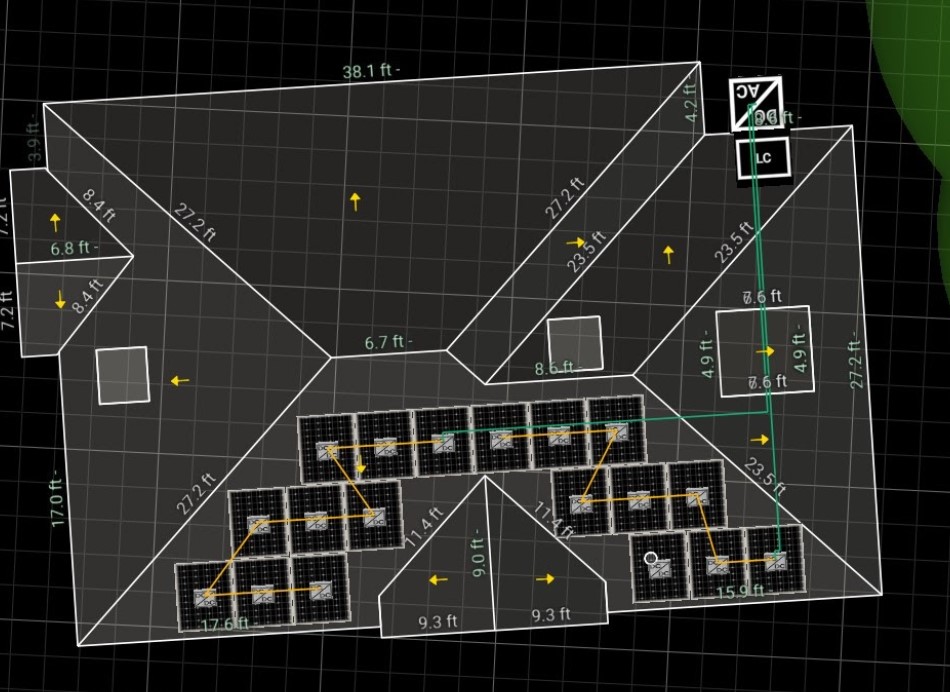
In order to generate the CAD prints and provide calculations the engineer will need a few details about the rafters like their size, pitch, attachment shape and spacing. They’ll also need roof measurements and a rough sketch of the desired panel layout to make sure everything fits. The engineer can then pull from a weather database to see what our local wind and snow ordinances require, for example 140mph maximum wind and 40lbs/sqft of snow. The end result is a recommendation of how many attachments will be needed, which rafters they’ll need to be installed on, and most importantly a stamp from a licensed Professional Engineer (P.E.)
Engineering – Electrical Details
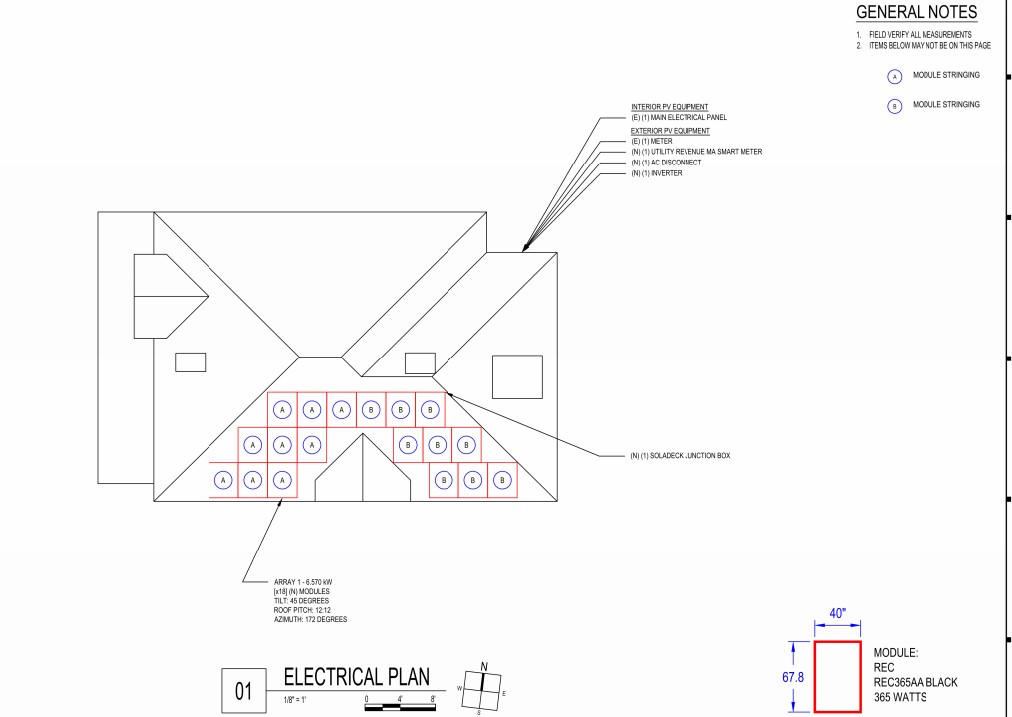
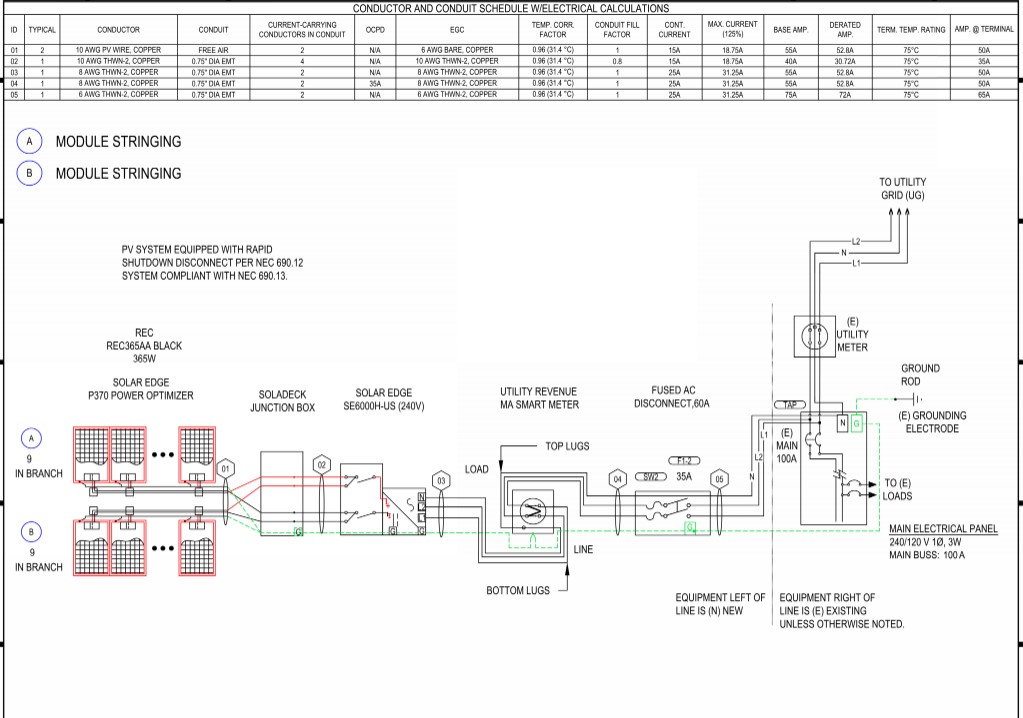
In addition to confirming the project is safe structurally, your engineer will ensure your project is safe electrically as well. This mainly pertains to the wiring and connections that the solar power passes through on its journey from the panels down to the inverter, and then into the main service panel. Wiring that is too small for the electrical current could be a fire risk and improperly sized overcurrent safety devices could cause recurring, unwanted, nuisance trips.
For the engineers to begin drawing, you’ll tell them what panels and inverter you chose in the design stage. The engineers then fill in the system component details. We calls these components Balance of System, and they include items like fuses, conduit, copper wiring, or other important – but not headline making – electrical components.
Permitting – Town Hall
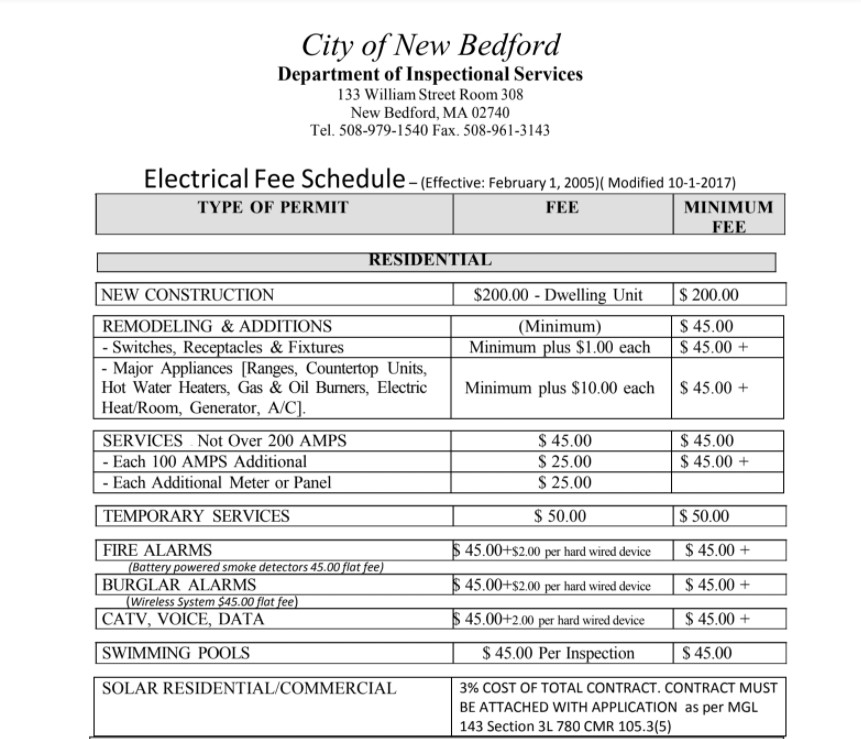
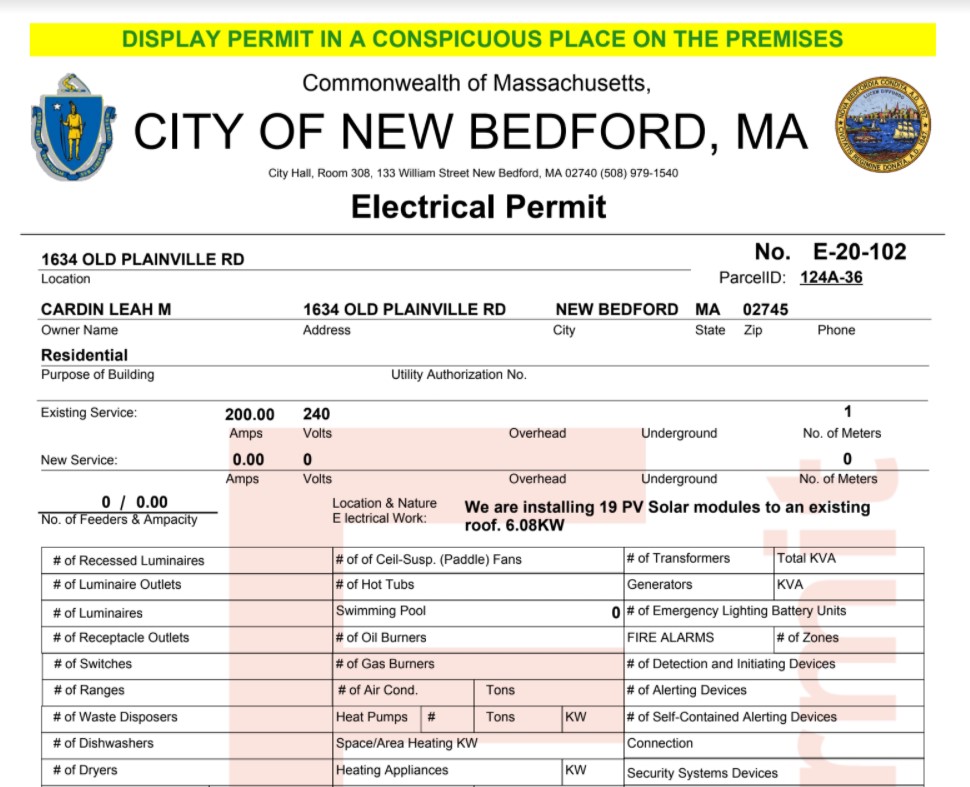
Town Hall is where you’ll get your building and your electrical permit. They will provide an application for each and let you know the associated fees with your project. You will need your electrician’s license number here, or have them pull the permit directly. All system details, like wattage and equipment models, will be specified on your engineering prints.
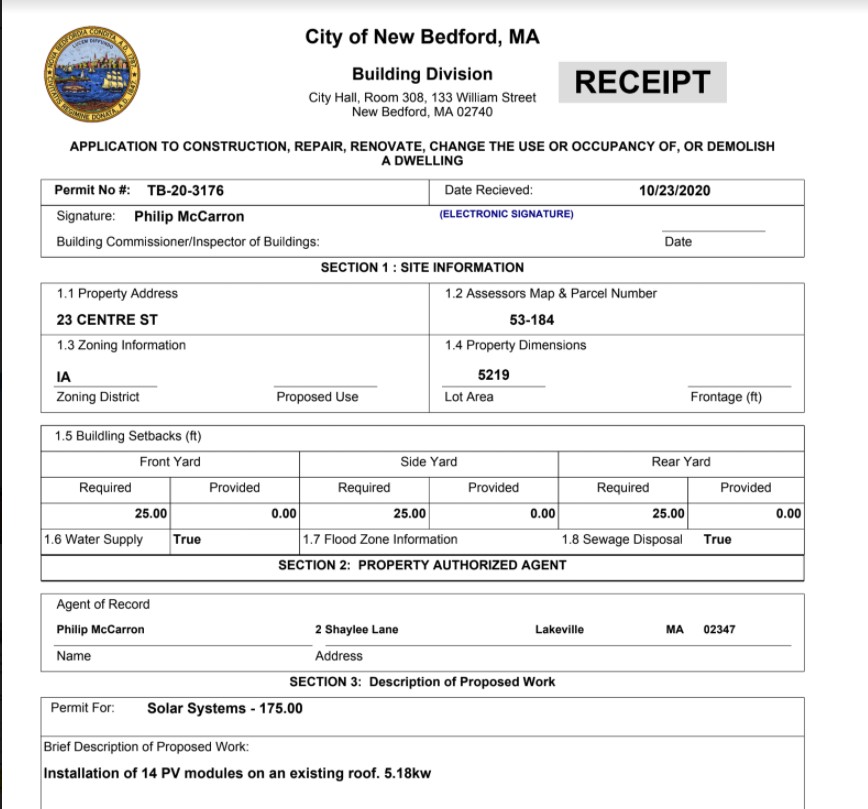
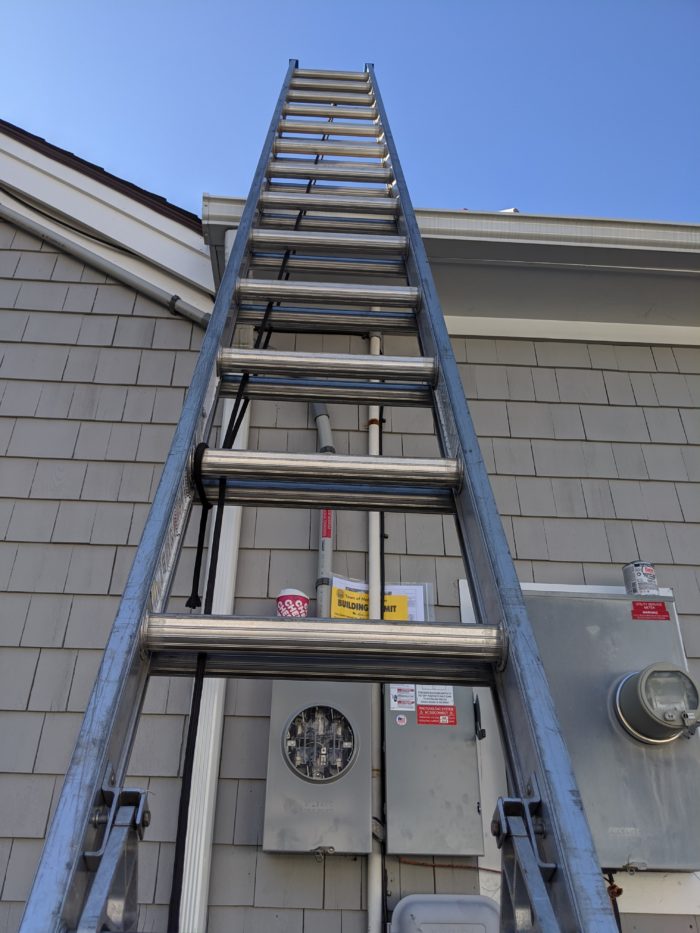
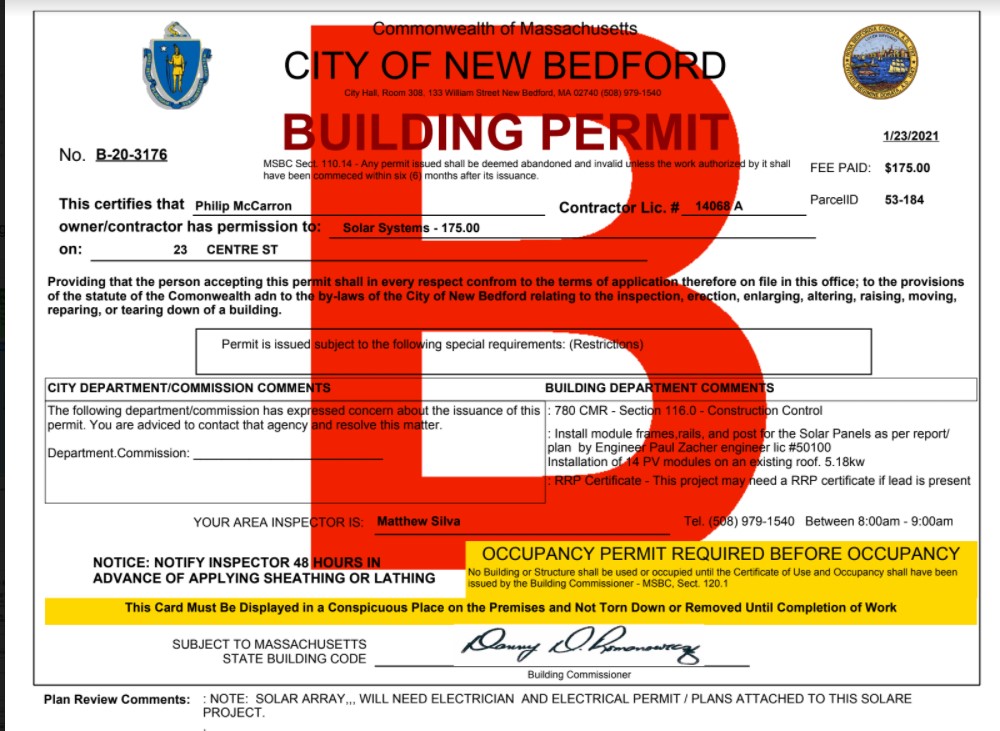
This is also where you’ll need to submit your P.E. stamped structural letter, they won’t issue a building permit without one. If all goes well (and likely a bit of patience resubmitting mistakes), you should eventually receive something that looks like this!
Permitting – Utility Interconnection
Now we need approval from the utility to connect into their grid. You may ask “Why? Isn’t my solar on my own property?” The answer is yes, but you also want the utility to buy back the excess power that you generate on days where your generation exceeds your consumption. A Interconnection Service Agreement is a two way document:
- You are declaring on paper all of the equipment that you’re interconnecting, so the utility can run calculations to account for the extra power you are generating.
- The utility is declaring, in paper, that they will buy back the power at market rate for the lifetime of the solar system.
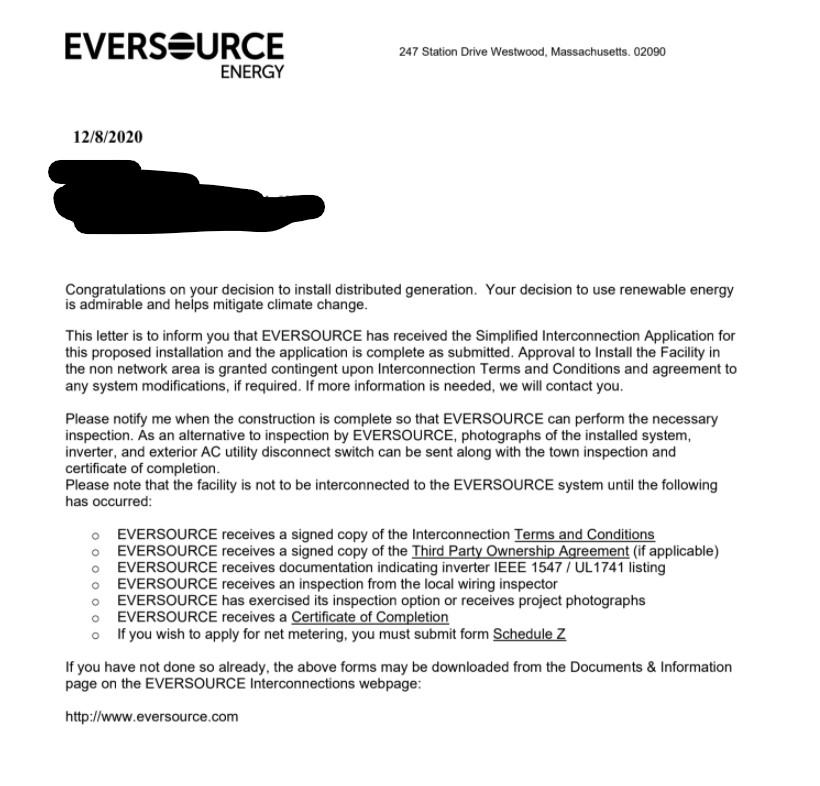
For both Eversource and National Grid, the interconnection process happens entirely online through their interconnection portal. You’ll see they also advise that you read the full terms and conditions contained in the 56 page Massachusetts Interconnection Tariff. Much like the town permits, you’ll need quite a few details from your engineering prints to declare all your system details, and it may require multiple submissions.
End goal is to eventually receive an email like this:
Permitting – SMART Program
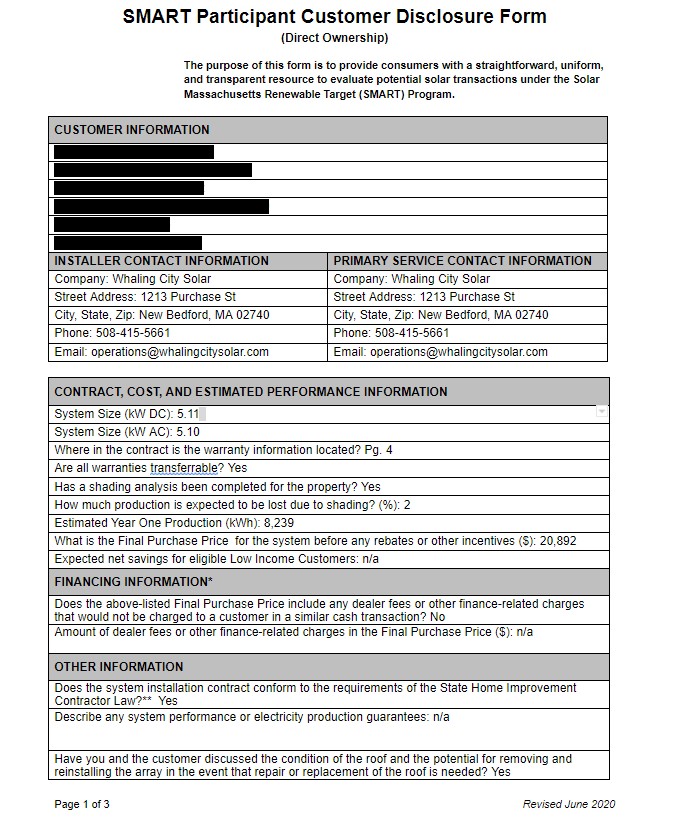
While it’s not required to construct, you’re going to have to do this step eventually . Since it takes a while we recommend submitting now before installation. As soon as you receive your ISA number from the utility, you’ll want to apply for your SMART incentive allocation through the MA SMART Online Portal. They will acknowledge receipt and send you a disclosure form to register your system details with the state.
Is this information redundant to what you sent the utility? Yes. However the state is going to send you a few thousand dollars in additional payment over the next 10 years just for installing solar panels. In my humble opinion fair it’s a fair trade off to help them keep accurate paperwork.
Approval to Construct
It’s been a long road, but we’re here! You should have everything in order to schedule a nice sunny block day for installation (probably 2-3 days if this is a first go)
Let’s look at your checklist:
- Set of electrical prints showing wiring plan
- Set of structural prints showing racking and attachment details
- Structural letter and building permit
- Electrical permit pulled with licensed electrician
- Approval to Install letter from the utility
- MA SMART fund approval
Looks like your ready to start site prep! Come back for Step 5 – Materials and Safety, where we’ll make sure you have everything set and ready to use your time on the roof as efficiently as possible.
Finding our content interesting? We’re realizing there are more of you out there than we thought! So because someone asked, here’s a subscription form where you can get an update every time we post a new in-depth article like the one you just read.

